If you work with PDFs on a regular basis, you’ve definitely run into that annoying margin problem. You pull up a saved document, a scanned file, or a downloaded template, and the page edges are full of useless blank space, uneven borders, or messy scanner shadows.
It doesn’t sound like a big deal at first, but those extra margins make even well-written content look sloppy and unpolished. I can’t tell you how many times I’ve finished perfecting a PDF’s text, images, and tables, only to have the whole file look unprofessional because of messy, oversized page margins.
I used to have no clue how to fix this properly. I’d either leave the ugly margins as-is and settle for low-quality files, or I’d try messy manual edits that always cut off important content. Both options were frustrating and such a waste of time.
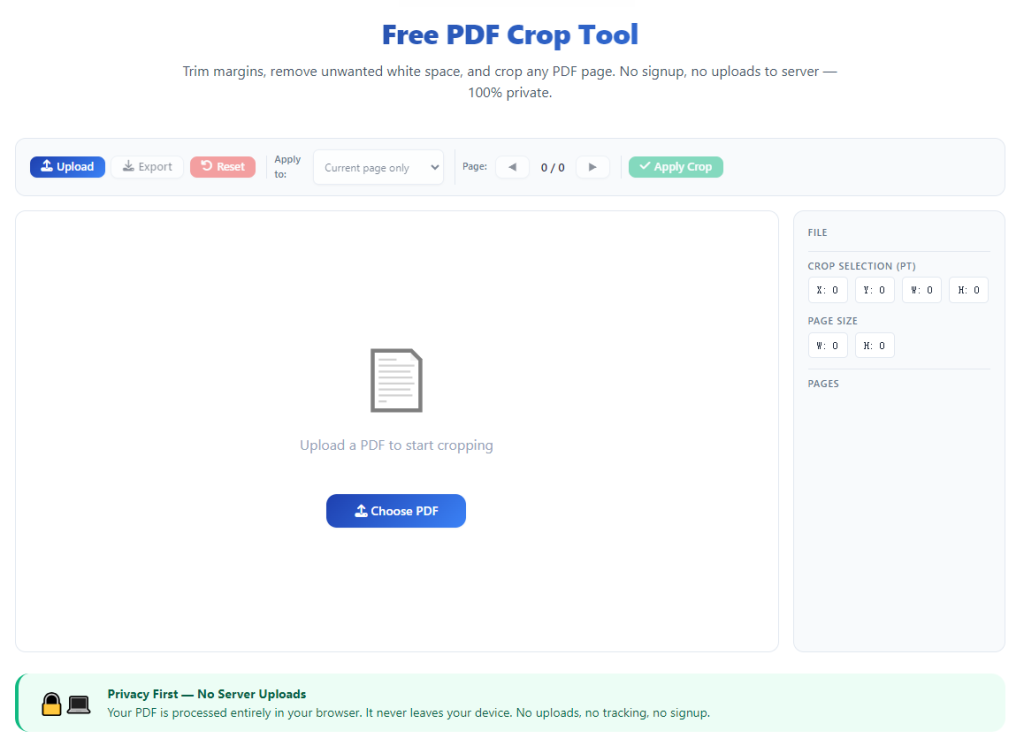
After tons of trial and error, I finally mastered exactly how to use PDF Crop Tool to cut page margins the right way. This simple workflow fixes every margin issue you could run into, and it’s so easy that even total beginners can get perfect results on their first try.
This isn’t a generic, robot-written tutorial with stiff, repetitive steps. Every tip, mistake warning, and workflow hack here comes from my own real-life editing fails and successful fixes. I’ve messed up margin cropping countless times, so I know exactly what to avoid and what works best.
Why You Need to Cut Extra PDF Page Margins
A lot of new users wonder why trimming PDF margins even matters. It’s just blank space, right? Wrong. Those unedited margins affect how your document looks, prints, and reads more than you’d ever imagine.
Scanned PDFs are the biggest culprit here. Any scanned note, form, report, or textbook page comes with inconsistent borders. One side has a thick white margin, the other has dark scanner shadows, and no two pages look the same. It makes your whole document feel disjointed and rushed.
Printing issues are another huge pain point. Oversized margins waste tons of paper and make printed documents look sparse and unorganized. Worst of all, uneven margins can cause parts of your content to get cut off during printing, which ruins entire pages of work.
I’ve had this happen for school and work files before. I’d spend hours prepping a perfect report, print it out, and find half my footer text cut off just because of unadjusted margins. It’s such a silly, avoidable mistake that costs you time and clean results.
Sharing PDFs digitally also suffers from bad margins. Files with excessive blank space look unpolished for client submissions, school assignments, or official business sharing. Clean, tight margins instantly make any document look more professional and intentional.
Archiving is another overlooked reason. When you save PDFs for long-term storage, uniform margins standardize your entire file library. No more random messy files cluttering up your folders—every document looks neat and consistent.
Thankfully, once you learn how to use PDF Crop Tool to cut page margins correctly, all these issues disappear completely. You get clean, balanced pages every single time, with zero guesswork or messy errors.
Common Problems With Poor Margin Trimming Methods
Before I found a reliable PDF crop tool workflow, I tried every lazy workaround you can think of. Every single one came with frustrating flaws that ruined my documents one way or another.
Manual drag cropping is the most common mistake people make. Most basic tools only let you drag a crop box freely with your mouse. Your hand naturally shakes a little, so you end up with lopsided margins on every page. Left sides too tight, top sides too wide—nothing lines up evenly.
Auto-crop features are just as bad, if not worse. I’ve relied on one-click auto crop tools dozens of times, thinking they’d save me work. Instead, they randomly cut too far into content, slice off headers and footers, or leave random shadow borders untouched.
Another big issue is inconsistent margin cuts across multi-page files. A lot of basic tools only let you crop one page at a time. When you’re working with 20 or 30-page documents, you end up with a patchwork of different margin sizes across the whole file.
I’ve also used tools that ruin file quality while cropping margins. Some cheap editors compress your PDF during trimming, turning sharp text fuzzy and dulling clear images. You fix your margin problem but end up with a low-quality document overall.
The worst part about all these bad methods is they create extra work. You spend more time fixing botched margin crops than you would have spent learning the correct workflow from the start.
This is why mastering how to use PDF Crop Tool to cut page margins with precise, controlled settings is such a game-changer. It eliminates every single one of these common errors entirely.
Key Advantages of Using a Dedicated PDF Crop Tool for Margin Cutting
After testing dozens of PDF editing tools, the difference between generic editors and dedicated crop tools for margin trimming is incredibly obvious. The right tool makes every part of the process faster, cleaner, and more accurate.
First off, you get full independent margin control. Top crop tools let you adjust top, bottom, left, and right margins separately. That’s huge for scanned files with uneven borders. You can trim extra shadow off the left side while keeping clean spacing on the right, no compromises needed.
Uniform bulk margin trimming is another massive benefit. Once you set your ideal margin size on one page, you can apply those exact same settings to every page in your document. No more manual page-by-page edits, no more inconsistent borders anywhere in the file.
I love that quality crop tools preserve full document clarity. When you use a proper tool to cut page margins, it only removes excess blank border space. It never compresses text, blurs images, or distorts any of your original content whatsoever.
It saves so much unnecessary rework too. I used to spend 20 minutes or longer fixing messy margins on every long PDF. Now, the entire margin trimming process takes less than a minute for full documents. It cuts down your editing workflow drastically.
Your documents become far more print-friendly as well. Custom trimmed margins ensure no content gets cut off during printing, no pages print with awkward blank borders, and every physical copy comes out clean and balanced.
Digital sharing becomes way more professional too. Clean, evenly trimmed margins make your PDFs look polished for clients, professors, team members, or anyone you share files with. It’s a small detail that massively boosts your document’s overall quality.
Must-Have Tool Features for Clean PDF Margin Cutting
Not every PDF crop tool is built for precise margin trimming. I’ve tried plenty of tools that claim to cut page margins but lack basic essential features. These are the key functions you always want to look for.
Independent edge adjustment is non-negotiable. Avoid any tool that only lets you crop evenly on all sides at once. Uneven scanned margins require individual side tweaks, and rigid one-size-fits-all cropping always leaves messy borders behind.
Global batch application is critical for multi-page PDFs. The best tools let you apply custom margin settings to all pages or a selected page range. This ensures perfect consistency across your entire document every single time.
High-resolution preview functionality is so important. You need to zoom in on page edges to spot tiny shadows, thin border lines, or uneven spacing that’s invisible at standard view. This lets you trim margins perfectly without cutting any content.
Lossless processing is another must-have feature. Make sure your crop tool edits only page borders and never compresses or alters your original text and image quality. Cheap tools sacrifice clarity for fast processing, and it shows in your final file.
Custom margin value controls are a huge upgrade over freehand dragging. Slider or numerical adjustment options let you make tiny, precise tweaks that shaky mouse drags simply can’t match.
Real Daily Use Cases for PDF Margin Cropping
Trimming PDF page margins isn’t just a random editing trick. It’s a routine workflow step I use constantly for school, work, business, and personal file management. It applies to almost every PDF type you’ll ever handle.
Scanned document cleanup is my most common use case. Scanned notes, textbooks, official forms, receipts, and reports always have messy, unbalanced borders. Cutting these excess margins instantly cleans up the entire document and removes distracting scanner artifacts.
Academic submissions rely heavily on clean margins. Most school assignments require uniform page spacing and neat formatting. Trimming messy borders ensures your papers, reports, and projects look polished and meet standard formatting expectations.
Business and client documents need consistent margins too. Proposals, financial reports, meeting minutes, and portfolio files always look more professional with clean, evenly trimmed edges. It’s a simple detail that builds trust with clients and team members.
Print preparation is another key use. Whether you’re printing study materials, business handouts, or personal records, trimmed margins prevent content cutoff and wasted paper. Every printed page comes out clean, balanced, and easy to read.
Digital archiving and file organization also benefit a lot. Standardizing margins across all your saved PDFs creates a uniform, tidy library. No more random messy files sticking out in your document folders.
Step-by-Step Guide: How to use PDF Crop Tool to cut page margins
This is the exact simple, beginner-friendly workflow I use every single time I need to trim PDF page margins. It avoids every mistake I’ve made in the past and delivers perfect results consistently.
First, prep your final PDF file. Always finish editing text, fixing images, and adjusting content before trimming margins. Cropping first can lead to accidental content loss if you go back to edit pages later on.
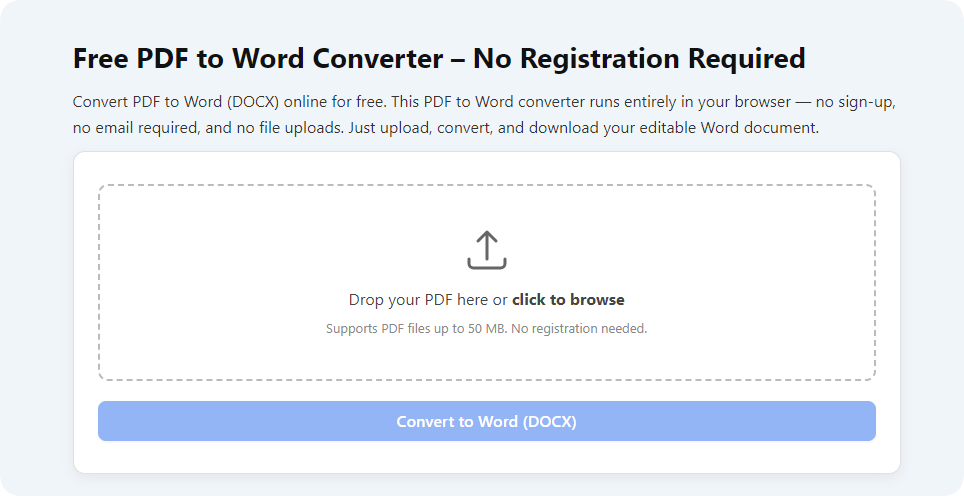
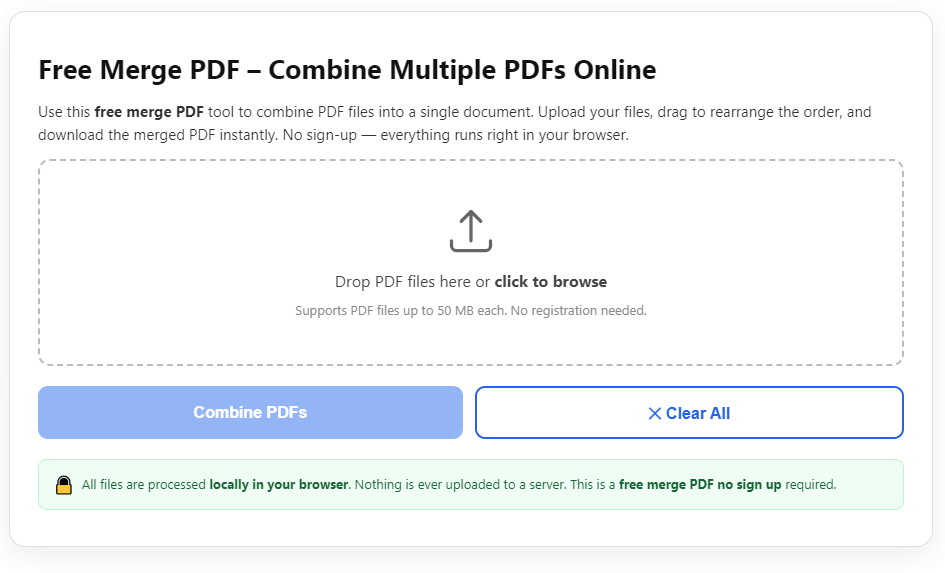
Open your trusted PDF Crop Tool designed for manual margin adjustment. Stick to tools with precise custom controls, not basic one-click auto-crop utilities that produce inconsistent results.
Upload your full PDF file via drag-and-drop or standard file selection. Wait for the tool to fully render all pages, especially for longer documents. Rushing the upload can cause preview glitches and inaccurate trimming.
Open the manual margin adjustment panel. Turn off any auto-crop features—they’re never reliable for custom margin trimming. Switch to independent top, bottom, left, and right edge controls for full precision.
Zoom in on your page edges closely. Scan for dark shadows, excess white space, and uneven borders. This close view lets you spot tiny flaws you’d miss at normal viewing size.
Trim each margin incrementally. Take it slow, adjusting one edge at a time. Always start with conservative trims—you can always remove more space later, but you can’t restore content you’ve cut away.
Check the full page balance after adjusting edges. Zoom out to confirm your margins look even and clean across the entire page. Make sure no headers, footers, page numbers, or table edges sit too close to the crop line.
Apply your custom margin settings to all pages in the document. Lock these settings to ensure every single page gets the exact same clean trim, eliminating all inconsistency.
Do a full document preview before saving. Scroll through several random pages to confirm uniform margins and zero content cutoff. This catches rare page-specific formatting differences.
Save your newly trimmed PDF as a separate file. Never overwrite your original document. Saving a new version lets you re-adjust margins anytime if you need different spacing for printing or sharing.
Most Common Margin Cropping Mistakes to Avoid
Every mistake on this list is one I’ve personally made and learned from. These small errors are why so many people end up with lopsided, damaged PDFs even after spending time trimming margins.
Rushing through incremental adjustments is the top mistake. It’s tempting to drag margins fast to finish quickly, but speed always leads to uneven edges or over-trimmed content. Slow, small tweaks always deliver better results.
Trusting auto-crop tools for custom margin work is a constant error. Auto features can’t tell the difference between blank border space and useful content. They randomly cut important text or leave messy shadows untouched far too often.
Forgetting to apply settings to all pages creates inconsistent documents. Trimming one perfect page while leaving others unedited results in a messy, patchwork file that looks unprofessional.
Skipping the zoomed edge check hides tiny flaws. Standard view makes uneven margins and faint shadows look invisible. Only a close zoom reveals the small details that make your crop look polished.
Over-trimming to remove all white space is risky. Tight margins can cut off page numbers, footer notes, and side table content. Always leave a small buffer of clean spacing to protect your work.
Overwriting your original file is a dangerous habit. One small trimming mistake can ruin your entire document. Saving a new file every time keeps your original work safe and editable.
Personal Pro Tips for Perfect PDF Margin Trimming
These are small daily habits I’ve built to make every margin crop flawless. They’re simple little tweaks, but they eliminate almost all trimming errors and make your workflow way smoother.
Always trim conservatively first. You can tighten margins in small steps, but you can never recover content that’s been cut. It’s better to have slightly wider clean margins than risk losing important work.
Check your trimmed pages in both screen view and print preview. Screen displays can hide minor margin inconsistencies, and print previews confirm your file will look perfect when physically printed.
Save your favorite margin settings for repeated use. If you regularly trim scanned notes or school reports, reuse your proven settings to save time and keep all your files uniformly formatted.
Separate raw untrimmed PDFs and finished clean files into different folders. This stops you from accidentally sharing unpolished, messy original documents with others.
Double-check edge content after every trim. Tables, side notes, and graphic elements often sit close to borders. A quick final check ensures nothing gets clipped during the cropping process.
Final Thoughts
PDF margin trimming is one of those tiny editing steps that makes a massive difference in your overall document quality. Messy, uneven borders can make great content look unprofessional, while clean, balanced margins instantly elevate any PDF.
Learning how to use PDF Crop Tool to cut page margins correctly removes all the guesswork, inconsistency, and frustration from this routine task. You no longer have to settle for sloppy auto-crop results or waste time on manual page-by-page edits.
With the right tool and simple workflow, you get crisp, uniform margins on every page, zero content loss, and preserved file quality every single time. It works for scanned files, academic work, business documents, and personal archives alike.
Once you get used to this fast, reliable trimming process, you’ll never tolerate messy PDF margins again. It’s a small, everyday workflow upgrade that makes all your PDF files cleaner, sharper, and far more professional for every use case.
After learning the operation method, click the link below to enter the tool page for immediate use.